Growing microgreens at home is one of the easiest ways to add a nutritional boost to your meals. Microgreens pack a punch of flavors and nutrients, making them a popular choice for health enthusiasts. They grow quickly and require very little space, so even if you don’t have a garden, you can still enjoy fresh greens.
I started growing microgreens on my windowsill last year, and it changed my mealtime routine. These tiny plants are so versatile. You can sprinkle them on salads, sandwiches, or even mix them into smoothies. With just a bit of soil, water, and sunlight, you can have a steady supply of fresh, nutritious greens at your fingertips.
One of my favorite things about microgreens is their intense flavors. Depending on what you grow, you can get a range of tastes from spicy to sweet. If you’re a foodie like me, experimenting with these flavors can be a lot of fun. Plus, it’s pretty cool to be able to say you grew those tasty greens yourself!
Getting Started with Microgreens
Let’s talk about what microgreens are, why you should grow them at home, and how to pick the best seeds to get started.
What Are Microgreens?
Microgreens are young vegetables and herbs harvested just after the first leaves have developed. They’re tiny but pack a punch in flavor and nutrients. Think of them as the in-between stage of sprouts and baby greens.
Microgreens can be grown from many seeds like kale, radish, and even sunflower. They’re easy to grow and usually ready to harvest in a couple of weeks. Perfect for those who want to see quick results! You can eat them fresh in salads, sandwiches, or as a garnish.
Benefits of Growing Microgreens at Home
Growing microgreens at home has lots of benefits. First, they are super nutritious and often contain more vitamins and minerals than their mature counterparts. It’s a great way to add extra nutrients to your diet.
Home-grown microgreens are very fresh, which means they taste better and are safer compared to store-bought ones. You also get to choose what you grow, so you can experiment with different flavors and textures. Plus, it’s fun and doesn’t need much space or special equipment.
Selecting the Right Seeds
Choosing the right seeds is crucial. You can use seeds from many vegetables and herbs. Some popular choices are basil, broccoli, and cilantro. You can find these seeds at garden centers or online, often labeled specifically for microgreens.
Make sure to pick high-quality, untreated seeds to avoid any chemicals. Consider the flavor and usage too. For example, mustard seeds will give you a spicy kick, while pea shoots are sweeter. Use a seed starting mix and make sure they get enough light to grow well.
Setting Up Your Growing Space
Setting up your growing space is key if you want your microgreens to flourish. Picking the right container, soil, lighting, and environment will make all the difference.
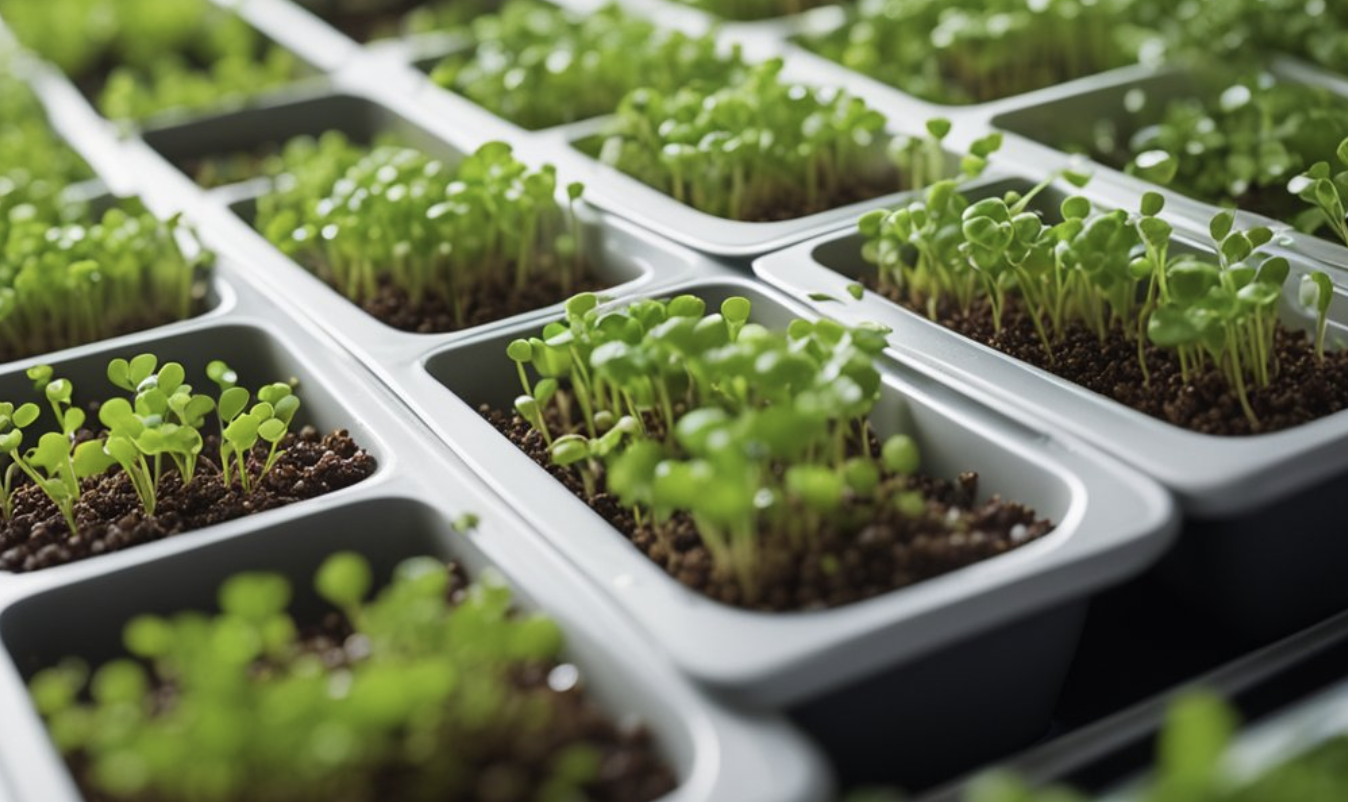
Choosing the Perfect Container
I like to use shallow trays for growing microgreens. They’re usually around 1 to 2 inches deep, which is just right. You can even use recycled containers, like plastic food trays.
Make sure there are drainage holes at the bottom to avoid soggy soil. Drainage is important because it prevents mold and keeps roots healthy.
I also recommend getting trays that fit nicely on your windowsill or shelves. This saves space and keeps your growing area organized.
Finding the Best Soil and Growing Medium
The soil should be light and fluffy. I prefer using a seed-starting mix because it’s clean and easy to work with.
Some people like to use alternative growing mediums, like coco coir or peat moss. These are also good options.
You’ll need a soil depth of about 1 to 2 inches in the container. This gives the microgreens enough space to root and grow.
The Importance of Proper Lighting
Lighting is crucial for microgreens. They need plenty of light to grow strong and healthy.
A sunny windowsill can work well if it gets 4-6 hours of direct sunlight. If natural sunlight isn’t an option, you can use grow lights.
LED grow lights are energy efficient and provide the right spectrum of light. I set my grow lights about 6 inches above the trays.
Creating the Right Environment
Maintaining the right environment involves keeping an eye on temperature and humidity. Microgreens like it warm, ideally between 60-75°F.
Humidity levels should be moderate. Too much humidity can cause mold, whereas too little can dry out the soil. I sometimes use a humidity dome to keep things balanced.
Ventilation is also important. Good air circulation helps prevent mold and keeps plants healthy.
Splitting up the text this way ensures each subtopic is easy to follow.
The Planting Process

Growing microgreens is simple and quick. The main steps include preparing your soil and containers and then sowing your seeds just right.
Preparing the Soil and Containers
First, I choose shallow trays with drainage holes. These trays help keep the roots from getting too wet. You can find these trays at gardening stores or online.
For the soil, I use a light, sterile potting mix. It’s important because it drains well and doesn’t have weeds or diseases. I fill the trays about an inch deep.
I mist the soil lightly with water until it’s damp but not soggy. Too much moisture can cause mold to grow.
Sowing Your Seeds
After preparing the soil and trays, I sprinkle the seeds evenly across the surface. Each type of microgreen has a different seed size, so it helps to read the packet instructions.
I gently press the seeds into the soil with my hands or a flat board. Covering the seeds lightly with a thin layer of soil or just leaving them on top works depending on the type of seed.
To keep the seeds from drying out, I mist them once they’re planted. I also cover the tray with a lid or plastic wrap to trap moisture. I check daily and water as needed, removing the cover once the seeds sprout.
Growing Your Microgreens
To grow microgreens at home, you’ll need to water them properly and understand their growth needs. It’s easy once you get the hang of it.
Watering Techniques
Water is one of the most important things your microgreens will need. I use a spray bottle to mist the seeds evenly. Misting helps keep the soil damp without waterlogging it.
I typically spray once in the morning and once at night. If you use a watering can, do it gently to avoid disturbing the seeds. I also recommend checking the soil moisture with your finger. If it feels dry half an inch down, it’s time to spray again.
Different microgreens might need slightly different watering routines. Keep an eye on how your specific seeds respond. For example, basil might need a bit more water compared to radish.
Monitoring Growth and Understanding Needs

Your microgreens will start showing signs of growth in just a few days. I find joy in watching the progress daily. Check the containers often to spot any pests or mold.
Good light is crucial. I keep my containers by a sunny window. Microgreens generally need about 4-6 hours of light daily. Sometimes, I use a grow light, especially on cloudy days.
Pay attention to the plants’ color and size. Pale or leggy plants might need more light. If the greens look healthy and vibrant, you’re on the right track. Use a fan or open window to ensure proper air circulation, which helps prevent mold.
When the microgreens reach about 1-3 inches tall, they are usually ready to harvest. This stage can vary, so always check the seed packet for specifics.
Harvesting Your Crop
When it’s time to harvest the microgreens, you need to know the right moment and methods. After harvesting, proper handling and storage ensure they remain fresh and tasty.
When and How to Harvest
Microgreens are ready to harvest 7-14 days after planting. The key signs are when the leaves, called cotyledons, are fully developed and before the true leaves come in.
I use sharp scissors to cut the stems just above the soil line. This method keeps the microgreens clean and avoids soil contamination.
It’s important to harvest with minimal handling to keep the delicate greens from bruising. I usually place them directly into clean trays during harvesting.
Post-Harvest Handling and Storage
After harvesting, it’s time to wash the microgreens gently. I fill a bowl with cold water and swirl the greens to remove any dirt. Then, I drain them in a colander and lay them out on paper towels to dry.
For storage, keep the microgreens in the fridge in a sealed container. This helps maintain their freshness. I like to use airtight containers or plastic bags with a bit of air inside to prevent crushing the leaves.
By following these steps, your microgreens will stay fresh and ready to eat for several days.
Enjoying Your Harvest
Once your microgreens have matured, it’s time to enjoy them. They are not only flavorful, but they also provide great nutritional value and have various uses in meals.
Incorporating Microgreens into Your Diet
I love adding microgreens to different dishes. They are perfect for salads because they give a fresh, crunchy texture. Just toss a handful into your favorite salad mix, and you’re good to go.
Another fun way to use them is in sandwiches. They give a nice crisp bite and enhance the flavor. Simply layer them on top of other ingredients.
Microgreens are also great toppers for soups. They not only add a burst of color but also a slight peppery taste that can make your soup stand out.
You can also sprinkle them on dishes like pasta or rice. They add a touch of freshness and a bit of extra nutrition.
Storing Microgreens for Longevity
To keep microgreens fresh, start by storing them in the refrigerator. Use an airtight container or a plastic bag with a paper towel inside to absorb moisture.
It’s best to avoid washing them until you’re ready to use them. Water can make them spoil faster.
If you need them to last a little longer, you can try freezing them, but they might lose some of their texture. I find it’s best to enjoy them fresh within a week for the best flavor and crispness.
Troubleshooting Common Issues
Growing microgreens can sometimes lead to common problems like pests and diseases or germination issues. Here are practical solutions you can use to keep your microgreens healthy and thriving.
Dealing with Pests and Diseases
Pests like aphids and mites can attack your microgreens. To manage them, I like using Neem oil or insecticidal soap. Spray it lightly on the plants. If you see mildew or mold, it means there’s too much moisture. Improve airflow by using a small fan and avoid overwatering.
- Common Pests:
- Aphids
- Mites
- Whiteflies
- Common Diseases:
- Mold
- Mildew
Keep the growing area clean. Remove any debris and use sanitized containers to prevent problems from starting.
Resolving Germination Problems
Sometimes, seeds don’t sprout as expected. First, make sure you’re using fresh seeds. Check the expiration date on the package.
- Temperature: Keep the growing area warm, around 70-75°F. If it’s too cold, seeds may not germinate.
- Moisture: The soil should be damp but not soaked. Too much water can drown the seeds.
- Light: Provide at least 12 hours of light daily. Use LED grow lights if natural light is limited.
I often pre-soak larger seeds like sunflower or pea seeds for a few hours to speed up germination. Be sure to cover seeds lightly with soil and keep a close eye on moisture levels.
Advanced Tips and Techniques
Growing microgreens can be even more exciting when you try out new varieties and experiment with different growing methods. I’ll share some advanced techniques that will help you get the most out of your microgreen garden.
Exploring Different Microgreen Varieties
Trying out different varieties can add lots of flavors and colors to your kitchen. Amaranth, radish, and pea shoots are some unique choices. I noticed that amaranth grows fast and has a sweet flavor. Radish microgreens can be spicy, giving your dishes a nice kick.
Using organic seeds can make a big difference. They might be slightly pricier, but they’re worth it. Make sure you use clean trays and fresh soil to avoid mold. Keeping your seeds moist is key. I found that watering them lightly with a spray bottle works best.
Experimenting with Hydroponics
Hydroponics can be an efficient way to grow microgreens without soil. I like using a hydroponic tray with a coconut coir mat. It’s cleaner and easier to manage. Place the trays in a bright area, but not in direct sunlight, to prevent burning the seedlings.
Nutrients play a big role. I mix a light nutrient solution with water to feed the microgreens. Using LED grow lights can boost growth. They provide the right amount of light without overheating the plants. Harvesting is easy too. I just snip them when they’re about three inches tall.
With these tips, you can enjoy fresh, healthy microgreens all year round!
Frequently Asked Questions
Growing microgreens can be a profitable venture. Different growing methods, containers, and care tips can make a difference in your success. Here are answers to some commonly asked questions.
Can you really make money by growing microgreens, and if so, how profitable is it?
Yes, you can make money. Microgreens are in demand at restaurants and farmers’ markets. Profit depends on your scale, methods, and market. Many small growers earn a nice side income. Some even make a full-time living!
What should I use to grow microgreens, soil or water, and what are the pros and cons of each method?
Both soil and water work. Soil is more natural and easy to use. It can hold more nutrients. Water, like in hydroponics, is cleaner and can save space. It might be a bit more complex.
How long does it take for microgreens to be ready for harvest?
It usually takes about 7 to 14 days for most microgreens to be ready. Some types may take a little longer. It’s a quick process compared to many other plants.
Do microgreens grow back after you cut them, or do you have to replant?
Most microgreens do not regrow after cutting. You will have to replant new seeds each time. This is part of why they are so quick to grow and harvest.
What are some of the best containers to use for growing microgreens, and why?
Shallow trays are often the best. They provide good drainage and easy access to the plants. Reusable plastic trays or biodegradable options are popular. They help manage space and keep things neat.