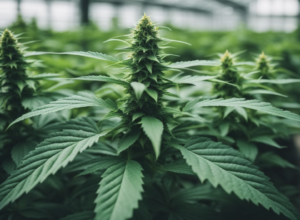
Ever wondered how a tiny seed can turn into a big, beautiful plant? It’s like watching a miracle unfold. Seed propagating is the perfect way to grow new plants from scratch. By learning a few simple steps, we can breathe life into our gardens with just a handful of seeds.
Remember that time we planted seeds together and watched them sprout? It’s amazing how these small tasks bring a sense of accomplishment. Plus, it’s much more affordable than buying grown plants from the store. As the seeds grow, the excitement builds, and soon enough, our garden is bursting with life.
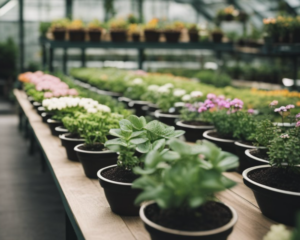
Plant propagation isn’t as difficult as it sounds. With a bit of patience and care, we can grow everything from herbs to flowers and even trees. It’s a fun project that rewards us with beautiful, healthy plants.
Understanding Seed Propagation

Seed propagation involves the process of seeds developing into plants. We need to look at how seeds germinate, the roles of the seed coat and embryo, and how pollination helps in forming seeds.
Basics of Seed Germination
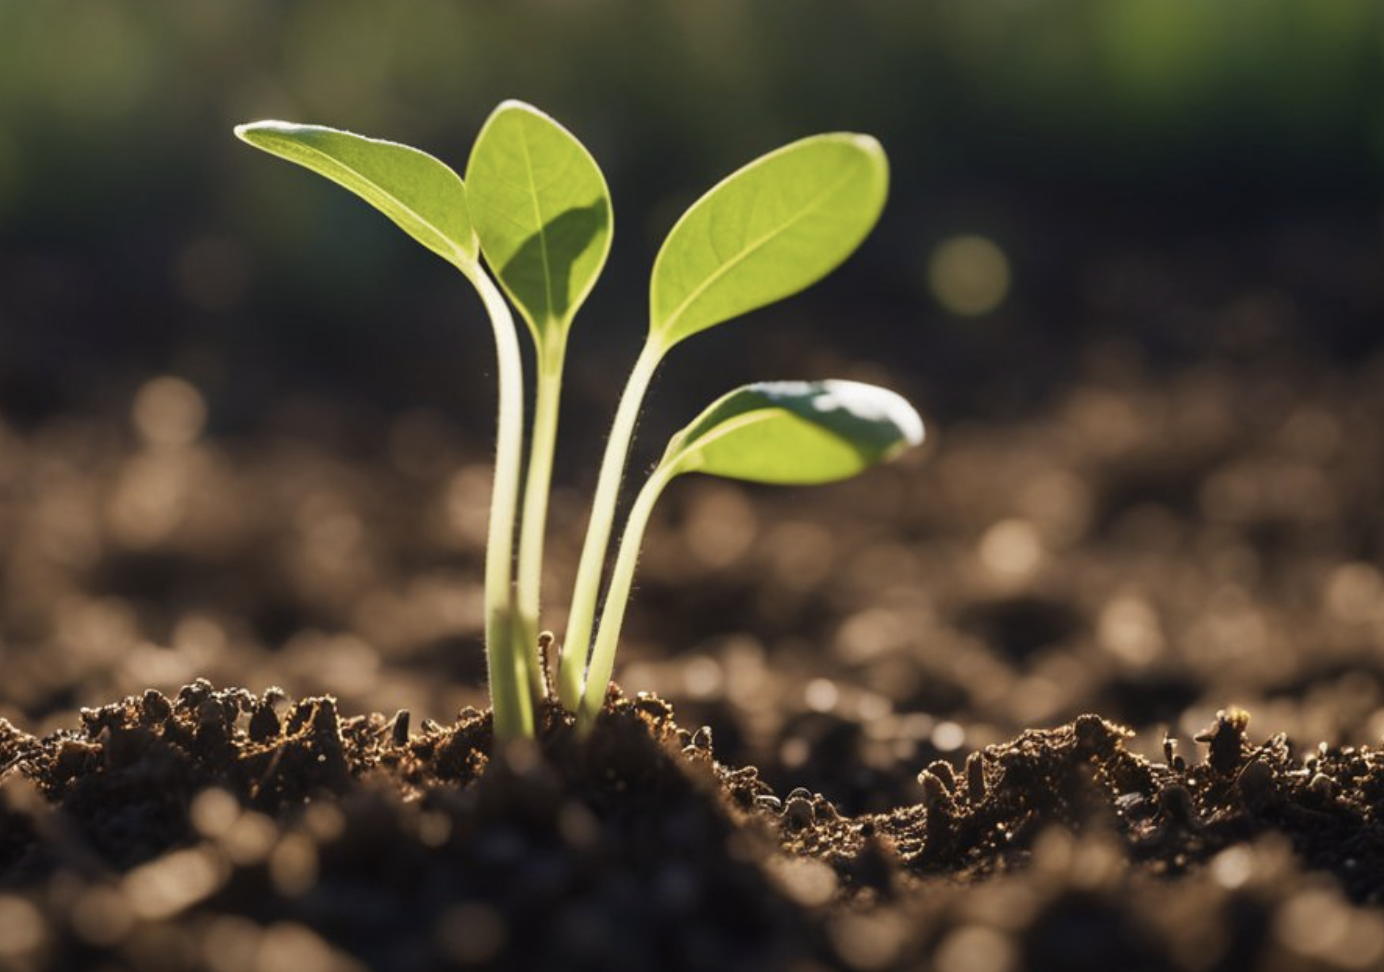
Germination is the start of a seed’s growth into a plant. For this to happen, seeds need water, oxygen, and the right temperature.
First, seeds absorb water, swelling up. This activates enzymes that start breaking down stored food in the seed. Our seed then uses this food to grow and develop.
After that, the root pushes down into the soil, looking for more water and nutrients. Finally, a shoot grows upward, reaching for light.
Seed Coat and Embryo
The seed coat is like a protective jacket for the seed. It keeps the seed safe from damage and disease. When conditions are right, the seed coat breaks open to allow the seed inside to start growing.
Inside, we have the embryo, which is the baby plant. It has tiny leaves and a root that will grow once the seed coat opens. The embryo uses stored nutrients to start growing.
The Role of Pollination in Seed Formation
Pollination is vital for creating seeds. This process involves transferring pollen from one flower to another.
There are two types of pollination: self-pollination and cross-pollination. In self-pollination, pollen from the same plant lands on its own flower. Cross-pollination happens between two plants.
Pollinators like bees, wind, or water often help. Once pollen reaches the flower, it fertilizes the ovules, forming seeds that we can later use for growing new plants.
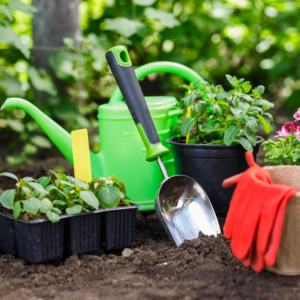
Preparing for Seed Propagation

For successful seed propagation, we need to start with quality seeds, use the right growing media, and control temperature and moisture. Let’s break down each of these key steps.
Choosing Quality Seed
First, we must choose quality seeds. Good seeds are essential for healthy plants. When buying seeds, we should check the packet for details like the variety, date of packaging, and expiration date.
We should avoid old seeds because their germination rate can be low. Seeds from reliable sources are usually the best bet. You can find quality seeds at garden centers or online.
Storing seeds properly before planting is also crucial. They should be kept in a cool, dry place to maintain their viability. A labeled container or a sealed bag works well for this purpose.
Seed Starting Media
Choosing the right seed starting media is vital. A good medium will support seed germination and young plant growth. Soilless mixes are popular because they are light and provide good aeration.
Common ingredients in these mixes include peat moss, vermiculite, and perlite. Peat moss holds moisture, vermiculite improves moisture retention and aeration, and perlite ensures good drainage.
We can either buy premixed seed starting media or make our own. Homemade mixes need to be sterile to prevent disease. We can sterilize our mix by baking it in the oven at 180°F for about 30 minutes.
The Importance of Temperature and Moisture
Temperature and moisture are key to seed germination. Most seeds need a warm, consistent temperature, between 65-75°F, for germination. We can use a seedling heat mat to keep the soil warm.
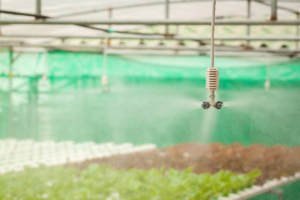
Moisture is equally important. Seeds need to stay moist but not waterlogged. Using a spray bottle can help control moisture evenly. It’s best to cover seeds with a plastic dome or wrap to keep humidity high.
Once the seeds germinate, we should remove the cover to prevent mold. Keeping an eye on our seedlings and watering them when the top layer dries out helps ensure they grow strong and healthy.
Optimizing Growth Conditions
To get the best results from seed propagation, we need to focus on three key factors: providing the right light, ensuring proper watering, and delivering the necessary nutrients. By optimizing these conditions, we can promote healthy growth and vigor in our plants.
Light and Its Effects
Light plays a critical role in seed growth. We need to provide enough light for seedlings, but not too much. Natural sunlight is usually ideal, but artificial lights can also work. Using grow lights, we should aim for 12-16 hours of light daily. More intense light helps plants grow stronger.
Different plants have different light needs. For seedlings, we should place the lights close to the plants but not so close they burn. A distance of 2-4 inches is generally good. Adjust as the plants grow taller. If the seedlings look pale or leggy, they might need more light.
Proper Watering Techniques
Watering must be done carefully to avoid both underwatering and overwatering. The soil should stay moist, but not soggy. Too much water can drown the roots and lead to rot, while too little can dry out seeds.
A good approach is to mist the soil surface until seeds sprout. Once seedlings appear, we should water the soil directly but gently, ensuring water reaches the roots. It’s important to use well-draining soil to keep oxygen flowing to the roots and avoid waterlogging.
Nutrients and Fertilization
Seeds have their initial nutrients stored in them, but as they grow, we need to provide extra nutrients. A balanced fertilizer can boost growth. We should start fertilizing seedlings after they develop their first true leaves.
A diluted liquid fertilizer works well. Mixing it at half strength is often a good idea at first. Too much fertilizer can burn young plants. As they grow, the fertilizer can be applied more frequently, but always in moderate amounts. Healthy nutrition helps seedlings develop strong roots, stems, and leaves.
Types of Seed Propagation

Let’s explore the two primary methods of seed propagation: Direct Sowing vs. Transplanting and Understanding Stratification and Scarification. We’ll break down each method to help us understand the best way to grow healthy plants from seeds.
Direct Sowing vs. Transplanting
Direct sowing means planting seeds straight into the soil where they will grow. This method works well for plants like beans, radishes, and sunflowers. It saves us time since there’s no need to move seedlings later.
Transplanting, on the other hand, starts with sowing seeds indoors or in a controlled environment. We plant the seeds in trays or pots. When the seedlings are strong enough, we transplant them to their final location. This method is great for plants like tomatoes and peppers. It gives us more control over growing conditions and helps protect young plants from harsh weather.
Understanding Stratification and Scarification
Some seeds need special treatments to grow. Stratification is a process where we expose seeds to cold temperatures to mimic winter. This helps seeds like lavender and certain trees break dormancy and start germinating. We often do this by placing seeds in a moist medium and storing them in the refrigerator for a specific period.
Scarification is another treatment where we physically alter the seed coat. This can be done by scratching, soaking, or even using a knife. Seeds with very hard coats, like morning glories or some legumes, need this treatment to help water penetrate and start the germination process. Scarification makes it easier for the seedling to come out.
Vegetative Propagation Methods
Let’s explore different ways plants can be propagated without seeds. We’ll look at methods like cuttings, layering, division, and grafting.
Cuttings: Stem, Leaf, and Root
Cuttings are bits of a plant used to grow a new one.
Stem cuttings are the most common. We cut a piece of stem and plant it in soil or water. New roots grow, creating a new plant.
Leaf cuttings involve taking a leaf and putting it in soil. After a while, small roots and then a new plant start to grow from the leaf base.
Root cuttings are when we cut a piece of root and plant it back in the ground. This works well for plants like peppers and raspberries. Each method helps us make new plants from parts of existing ones.
Layering Techniques
Layering means encouraging parts of a plant to grow roots while still attached to the parent plant.
Air layering involves wounding a stem, wrapping it with soil or moss, and covering it with plastic to keep it moist. Roots form at the wound site.
Another way is simple layering, where we bend a low branch to the ground, cover it with soil, and wait for it to root.
This method is handy for shrubs and vines. Each technique ensures new plants grow while getting nutrients from the parent plant.
Division: Separating Plants
Division is splitting a plant into multiple smaller plants.
It’s best for plants that naturally grow in clumps, like hostas and grasses. We dig up the whole plant, separate the root clump into smaller sections, and replant them. Each section has its own roots and shoots.
This method rejuvenates older plants and multiplies them. It’s straightforward and effective for many perennials.
Offsets and Grafting
Offsets are small, natural clones that some plants produce around their base. We can separate these baby plants from the parent and plant them independently. Examples include spider plants and succulents.
Grafting involves joining two plants together. We take a branch or bud (called a scion) from one plant and attach it to the root system (called the rootstock) of another. They grow together, combining traits from both plants. This method is common for fruit trees and roses.
Frequently Asked Questions
Let’s tackle some common questions about seed propagating. We’ll chat about tips for sprouting seeds fast, growing them at home, and the differences between seed and vegetative propagation.
How can I germinate seeds quickly?
To speed up germination, we can soak the seeds in water overnight. Another method is to use a seedling heat mat to keep the soil warm. Warmth and moisture are key for fast sprouting.
What’s the best technique to grow seeds at home?
We recommend starting with a good seed-starting mix. Make sure to keep the soil moist but not soggy. A sunny windowsill or grow lights will provide the necessary light. Consistent care is crucial.
Can you explain the difference between seed propagation and vegetative propagation?
Seed propagation involves growing plants from seeds, which results in genetic variation. Vegetative propagation uses parts of the plant, like cuttings or runners, to grow new plants, creating an exact clone of the parent plant.
What are the disadvantages of seed propagation?
Seed propagation can take longer and requires more attention. There’s also a chance that some seeds may not germinate. Additionally, plants grown from seeds can have variations in traits compared to the parent plant.
When’s the right time to kick off seed propagation?
We should start seed propagation in early spring. This gives the seeds enough time to grow into strong seedlings before being transplanted outdoors. Always check the specific needs of your plants for best results.